Step-by-Step Guide to Using Seed Starter Trays with Dome
May,06 2026
Seed starter trays with domes are the gold-standard mini-greenhouse tools for gardeners in 2026, designed to create a fully controlled germination environment that locks in ideal warmth, humidity, and moisture—eliminating the top causes of seed failure. Unlike basic planting trays, these all-in-one kits (individual growing cells, watertight base tray, clear humidity dome) deliver 90%+ germination success rates for vegetables, herbs, flowers, and microgreens, even for beginner gardeners in cold climates or low-humidity spaces. This 2026 expanded guide breaks down every step with actionable tutorials, real-world scenarios, troubleshooting fixes, and pro tips to help you grow sturdy, disease-free seedlings from sowing to transplanting.
Why Seed Starter Trays with Domes Are Non-Negotiable in 2026 Gardening
Before diving into setup, understand the core benefits that make these trays a must-have for both home gardeners and small-scale commercial growers:
Consistent 80-90% humidity levels: Prevents seed drying out, a top reason for no germination
Stable temperature control: Boosts sprouting speed by 3-7 days for warm-weather crops
Follow seed packet instructions first—each plant has unique needs, but this universal method works for 95% of seeds:
Step 1: Sow Seeds at the Correct Depth
Small seeds (lettuce, basil, poppies): Surface-sow, do not cover with soil
Medium seeds (tomatoes, marigolds): 1/8 inch deep (1x seed diameter)
Large seeds (pumpkins, beans, squash): 1/4 inch deep (2x seed diameter)
Use a pencil to make small holes, drop 1-2 seeds per hole (extra seeds ensure germination), then lightly cover with soil.
Step 2: Label Every Cell (Avoid Mix-Ups)
Label with: Seed name, variety, planting date, germination days (critical for 2026 garden planning).
Step 3: Water Seeds Without Displacement (2 Methods)
Method 1: Top misting (best for small seeds)
Use a fine mist spray bottle to moisten the soil surface—hold 6 inches away to avoid washing seeds away.
Method 2: Bottom watering (best for all seeds, 2026 top choice)
Fill the base tray with 1/4 inch of room-temperature water
Set the cell tray inside (do not submerge cells)
Let sit 10-15 minutes until soil top is damp
Pour out excess water immediately—standing water causes root rot
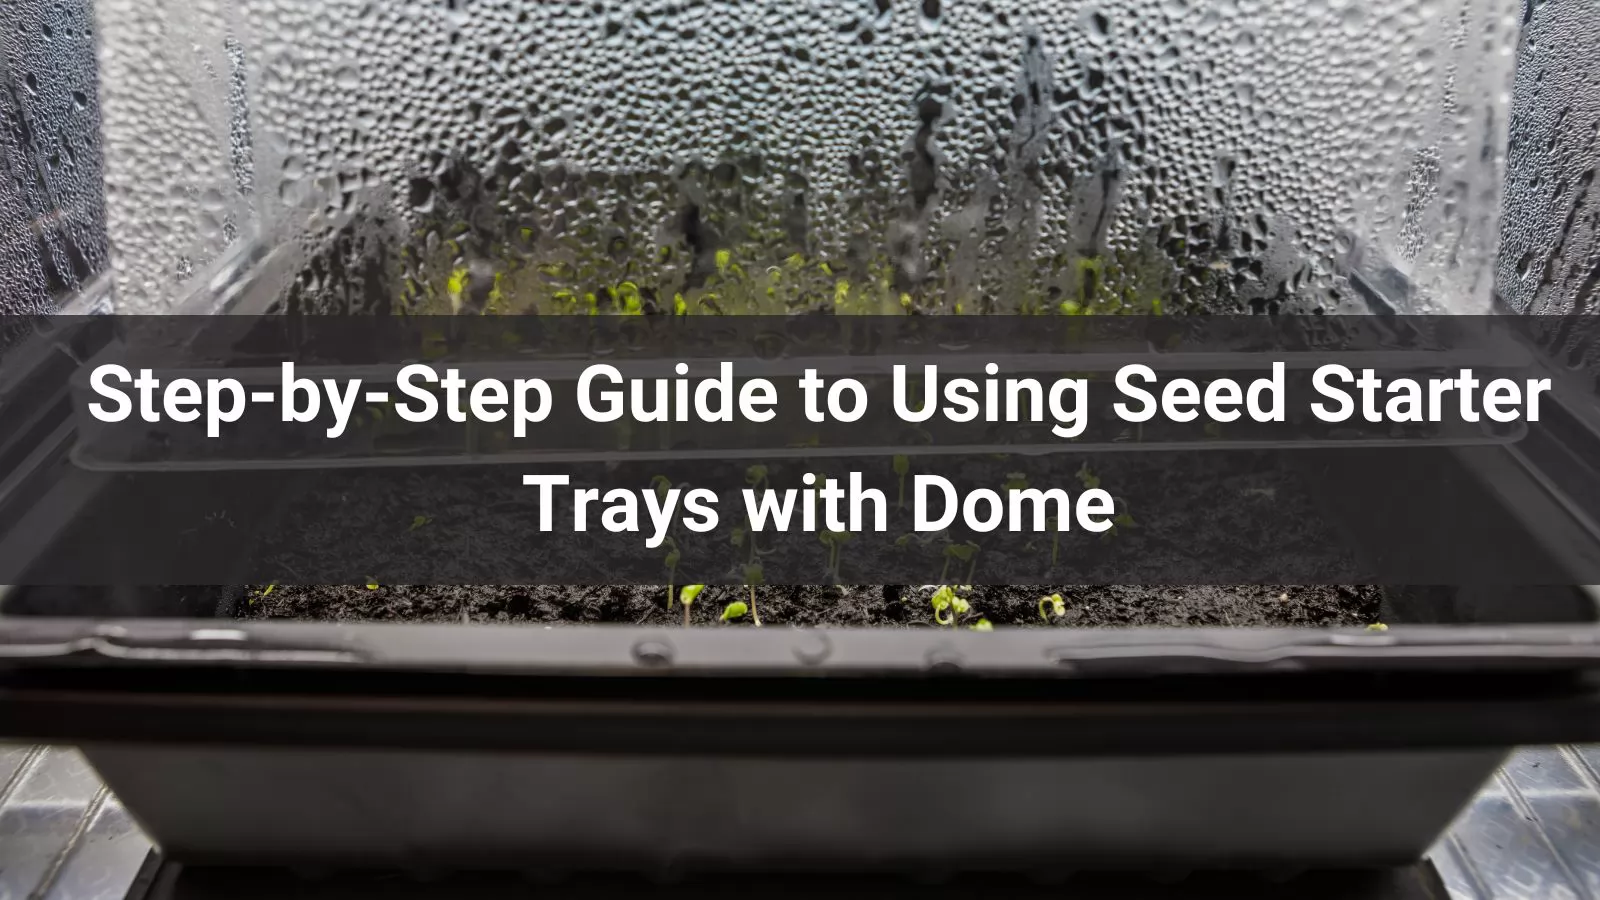
3. Dome Usage & Optimal Germination Conditions (2026 Temperature & Humidity Chart)
The clear dome is your secret weapon—use it correctly to speed up sprouting:
Step 1: Secure the Dome & Set Vents
Place the dome tightly over the tray to lock in humidity
Close all vents initially (target 80-90% humidity for germination)
Check dome daily: Light condensation is good; heavy dripping = open vents 1/4 way
Step 2: Ideal Temperature Settings (2026 Quick Reference)
Seed starter trays with domes remain the most reliable, cost-effective tool for successful seed propagation in 2026. By following this complete step-by-step guide—from sanitization and planting to acclimation and transplanting—you’ll grow healthy, robust seedlings that thrive in pots, raised beds, and garden beds. Whether you’re a first-time gardener or a seasoned grower, this controlled growing method eliminates guesswork and delivers consistent results every season. With proper care and sanitization, your seed starter trays will serve you for years of successful gardening ahead.
0Comments
Leave a Comment
Your email address will not be published. Required fields are marked *
We use cookies to make the website work, to provide advanced features, social media and traffic analysis, and we use analytics and third-party advertising cookies. If you choose to click "Deny All", you will retain the default setting of not allowing the use of cookies or other tracking tools other than technical tools.
Enter your inquiry details, we will reply you in 24 hours.


.png)

.png)


.png)